Replacing Arms on all GHD models
This a quick guide that I've cobbled together using photos already on the site, however hopefully it should make sense and guide you in the right direction for replacing broken arms.
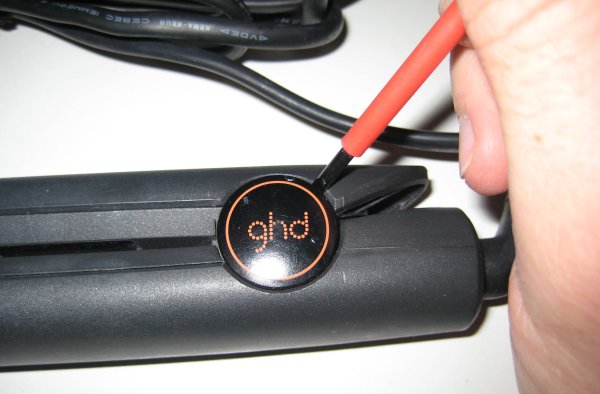
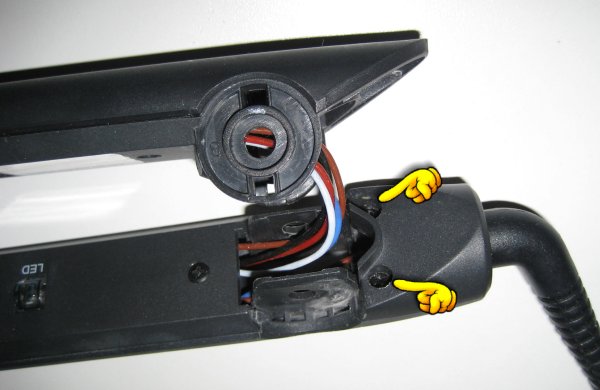
1) Remove the hinge caps
Carefully use a screw driver to pop the caps off. They are held in place by a clip at 12 o'clock and 6 o'clock (when the GHD logo is rotated as below)
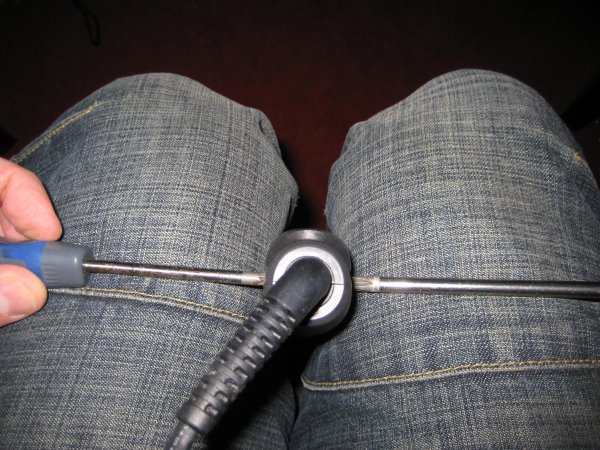
2) Undo the hinge pin
It may not look the most elegant, however I've come to the conclusion that the easiest way to remove the hinge pin is to put the GHD's between your legs, and then undo the screws with a screw driver in each hand. Make sure you use the correct size screw driver, as this screw is often very tight. It undoes anti-clockwise (as a normal screw thread). If you twist hard enough, you'll hear a crack, and then it'll come undone easily. If not a mechanics impact driver can be used.
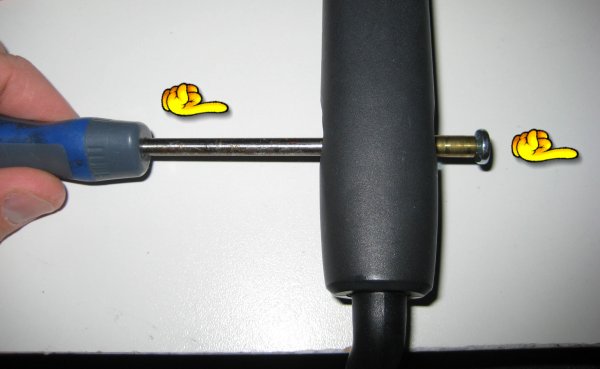
3) Push the hinge pin out
The screw will come off on one side, and then use a screw driver to push the pin out.
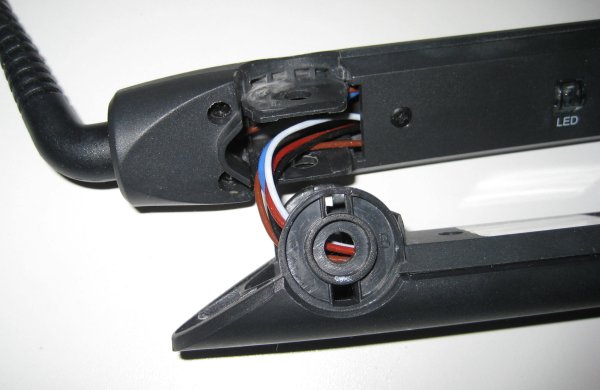
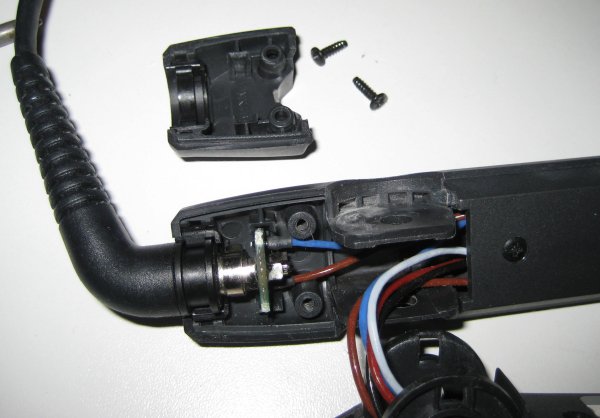
4) Seperate the two arms
Just take care with the wires that go around the hinge. You may find it easier to take the spring out at this stage, as has been done in the following photo.
These instructions now vary depending on which arm you are replacing....
5) Remove the cover from the arm you want to replace
Undo the two small screws and then the cover can be removed.
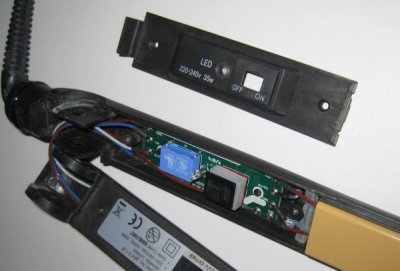
6) Remove the cable cover (switch side only)
7) Remove the 2 screws that hold the PCB in place
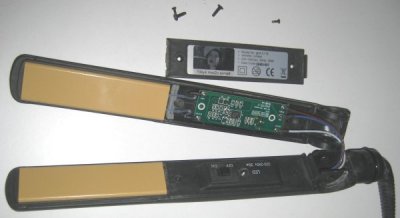
8) Swap arm
Everything should now be free so that you can remove the "guts" from the arm you want to replace and move it all to the new arm.
9) Reassemble
Reassembly is just the reverse of the above. Just make sure you don't catch any wires when you screw the lid back on or put the hinge back together.
Short URL for this page: